Making a photo collage on iPhone used to mean wrestling with desktop software or uploading your photos to some random web app. With SnapLayout, the whole process happens directly on your device — no uploads, no accounts, no fuss. Here is exactly how it works.
Step 1: Open the App and Start a New Project
Download SnapLayout from the App Store (it is free) and open it. Tap the + button to start a new collage. That is your starting point for everything — single-image posts, multi-photo grids, and carousel posts alike.
Step 2: Choose Your Format
Before you pick photos, choose the canvas format that matches where you are posting. SnapLayout offers formats built for every major platform:
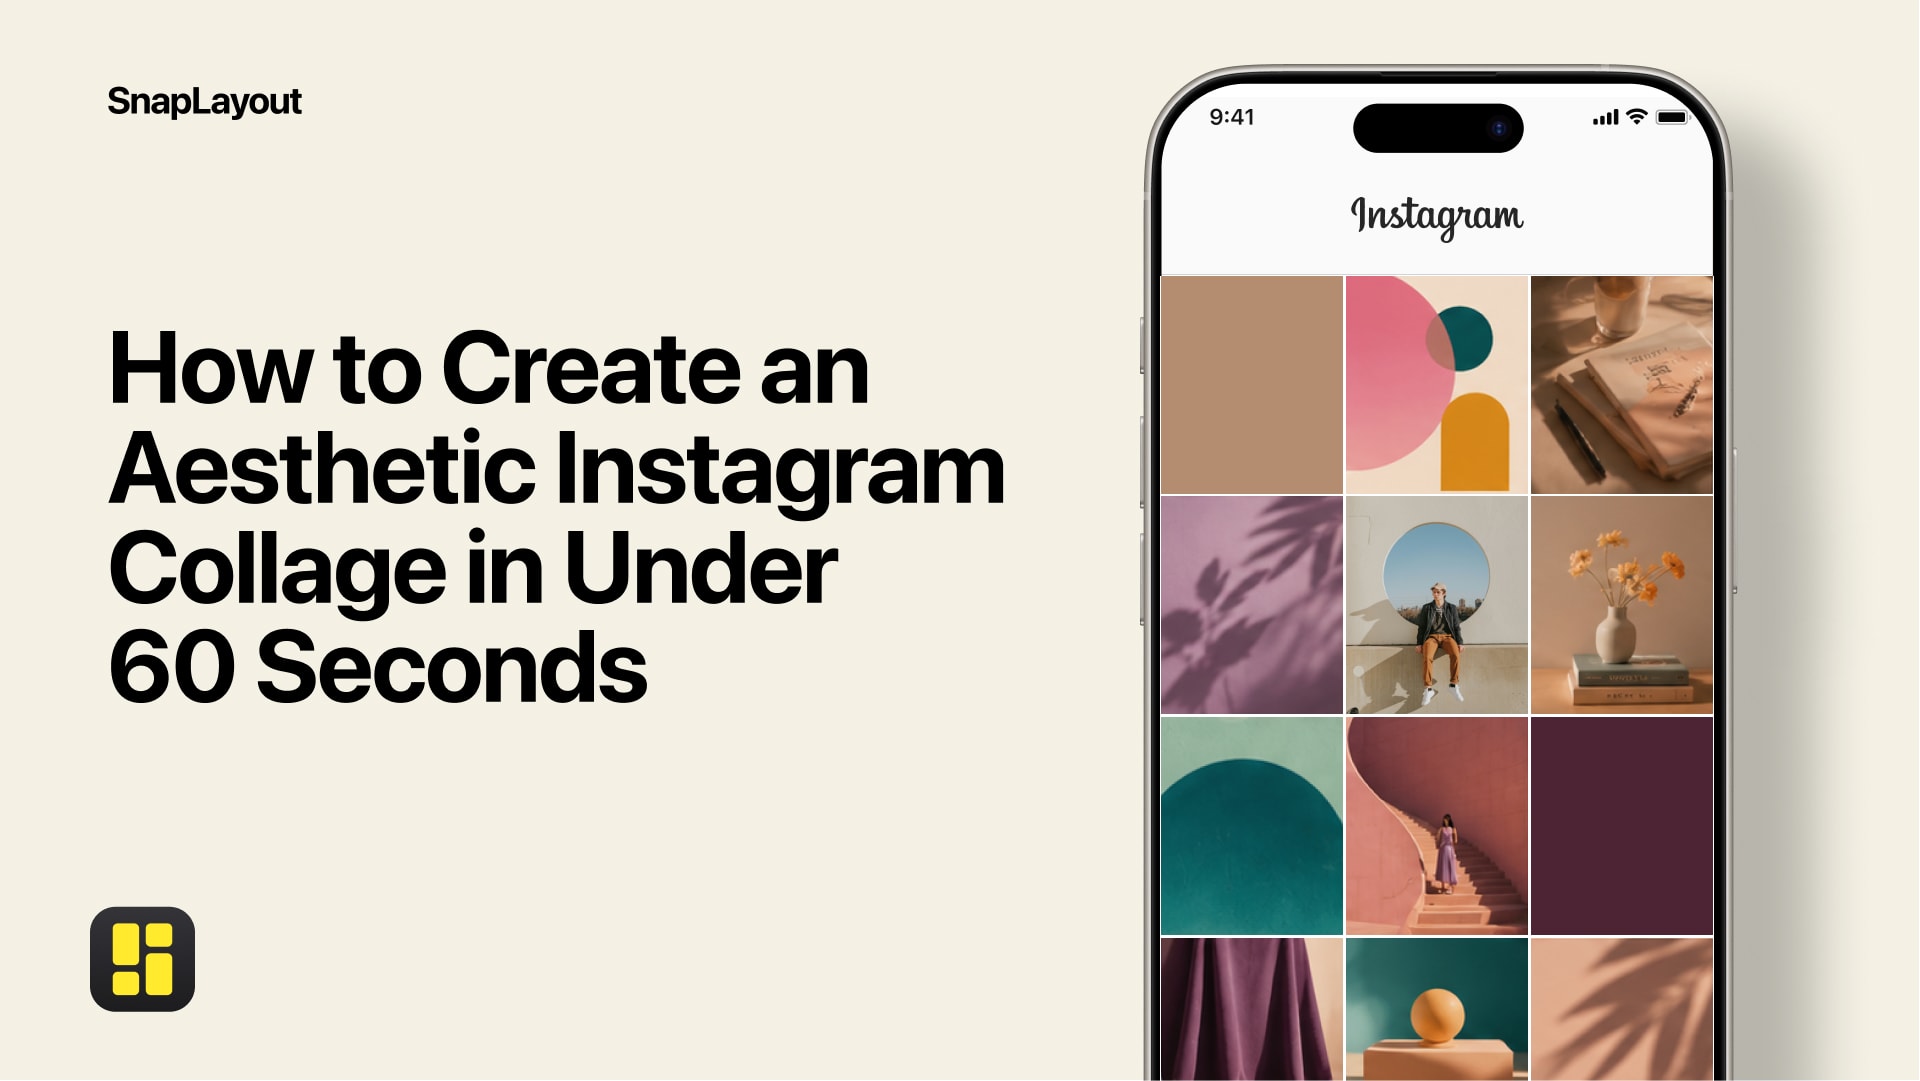
- Square (1:1) — the classic Instagram feed size
- Portrait (4:5) — taller than square, great for Instagram feed posts that take up more screen space
- Story / TikTok (9:16) — full vertical for Instagram Stories and TikTok
- Landscape (16:9) — wide format for YouTube thumbnails or horizontal posts
- Custom canvas — set your own dimensions when you need something specific
Tap the format that fits your goal. You can always change your mind later without losing your work (more on that in Step 5).
Step 3: Pick a Layout
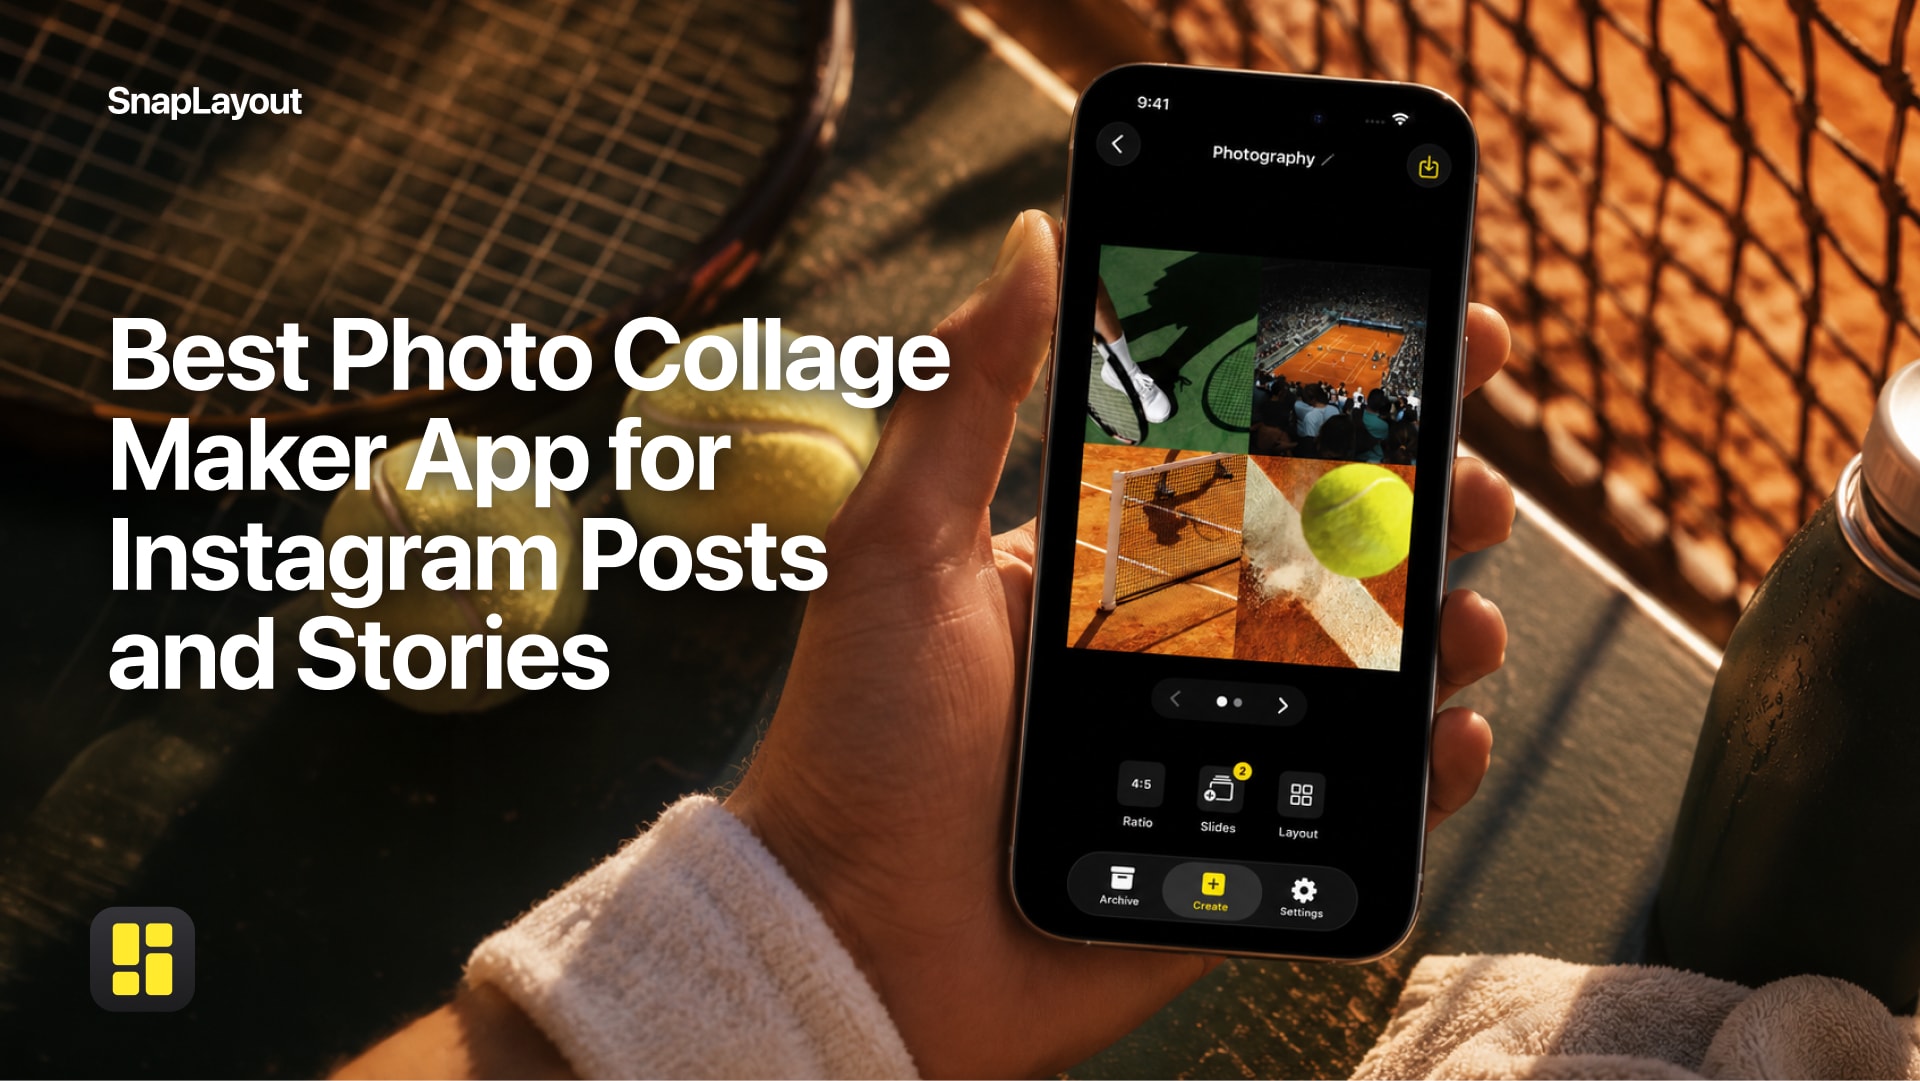
Once you have a format selected, SnapLayout shows you a range of grid layouts — side-by-side splits, asymmetric arrangements, multi-cell grids, and more. Scroll through and tap the one that suits the number of photos you want to use. The layout previews update in real time so you can see exactly how your collage will look before you commit.
Step 4: Add Your Photos
Tap any cell in the layout to add a photo from your camera roll. Your photos stay on your device the entire time — SnapLayout works completely offline and never uploads anything to the cloud. Once a photo is placed, you can pinch and drag within the cell to reposition or zoom it to get the crop exactly right.
Repeat for each cell until all your photos are placed. If you want to swap a photo out, just tap its cell again and choose a different image.
Step 5: Switch Formats If You Need To
Changed your mind about the format? No problem. SnapLayout lets you switch between canvas formats — say, from square to portrait — without starting over. Your photos stay in place and the layout adjusts. This makes it easy to repurpose a single collage for different platforms without duplicating your work.
Step 6: Fine-Tune Your Collage
Before exporting, take a moment to review your collage. You can adjust spacing between cells, change the background color, or reorder photos. SnapLayout keeps the editing straightforward — every option is a tap or a drag, with no menus buried three levels deep.
Step 7: Export to Your Camera Roll
When you are happy with the result, tap the export button. SnapLayout saves the finished collage directly to your iPhone's camera roll at full resolution. From there, you can post it to Instagram, TikTok, or anywhere else you like — just the same way you would share any other photo from your library.
A premium subscription (managed through Apple) is needed to export your collages at full resolution.
Bonus: Creating Carousel Posts
SnapLayout also supports carousel posts — up to 20 slides per project. Instead of a single collage, you build a sequence of images that scroll horizontally when posted to Instagram. Each slide uses the same layout and format, so the whole carousel looks consistent. The process is the same as above: pick your format, choose a layout, fill in your photos — then repeat for each slide. Export all slides at once and they land in your camera roll ready to upload as a multi-image post.
That Is All There Is to It
From opening the app to having a finished collage in your camera roll, the whole process takes a few minutes at most. SnapLayout handles the sizing and layout logic so you can focus on which photos to use and how to arrange them — which is really the only part that matters.
SnapLayout is free to download and runs on iPhone and iPad with iOS 16 or later.